DIY Epoxy Garage Floor: What the Kits Don't Tell You
A hardware-store epoxy kit goes on 3 mils thick and can't be applied over 85°F. What the spec sheets actually say, and how it compares to a pro flake system.
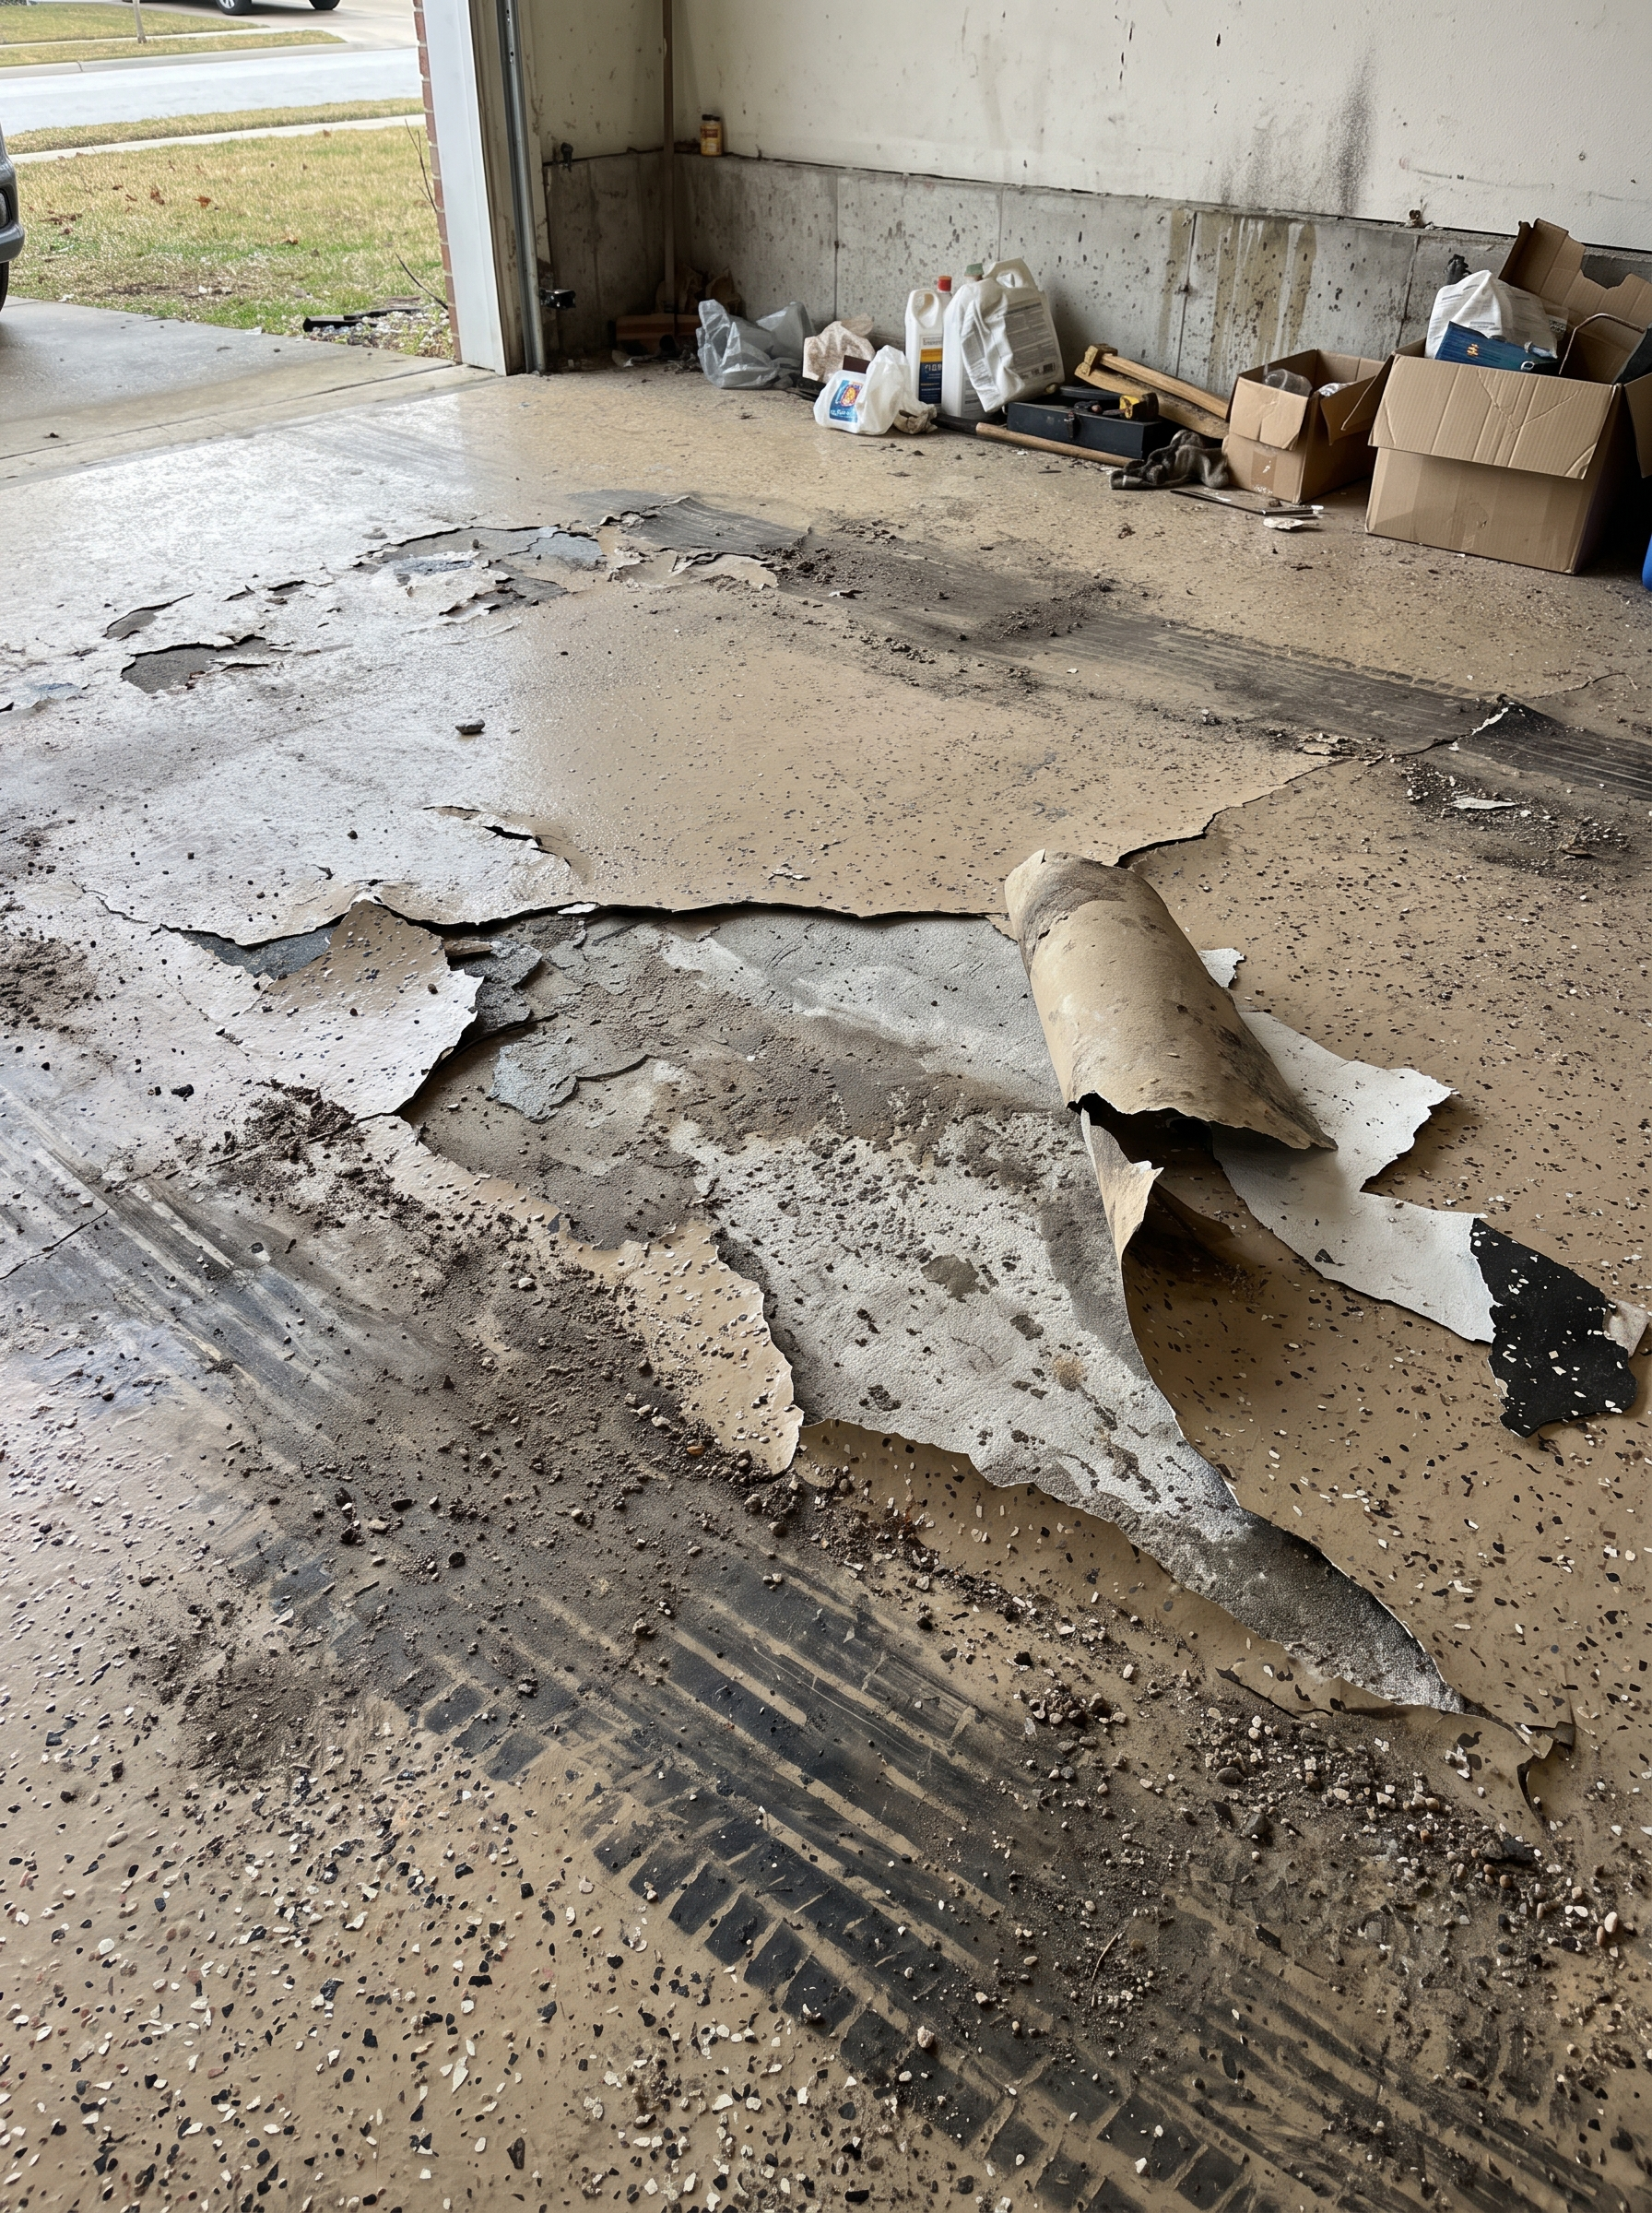
A DIY epoxy garage floor looks like an easy win. One box off the shelf, a free Saturday, and your stained concrete turns into a showroom floor. The pictures on the box are convincing.
The spec sheet is a different story. Every one of these kits publishes a technical data sheet, and those numbers tell you exactly what you’re buying. We pulled the published specs for Rust-Oleum’s water-based EpoxyShield kit, one of the most popular ones on the shelf, and lined them up against what a professional flake system actually puts on your slab. Here’s what the box doesn’t mention.
What’s actually in the box
A typical kit is a two-part, water-based epoxy: a base pouch, an activator pouch, a bag of decorative chips, a bag of concrete etch, and an instruction sheet. You burst the pouch, mix it, and roll it on. One coat, and that’s the floor.
The whole system is one thin layer of epoxy over lightly etched concrete. There’s no grinding, no separate topcoat, and nothing between the coating and the moisture in your slab.
1. It goes on about as thick as a sheet of paper
This is the number that matters most, and it’s printed right on the data sheet:
Recommended Dry Film Thickness (DFT) per coat: 3.0 to 3.5 mils
A mil is one thousandth of an inch. For scale, a sheet of copy paper runs around 4 mils and a credit card is about 30 mils. So a finished DIY kit floor is thinner than the paper in your printer.
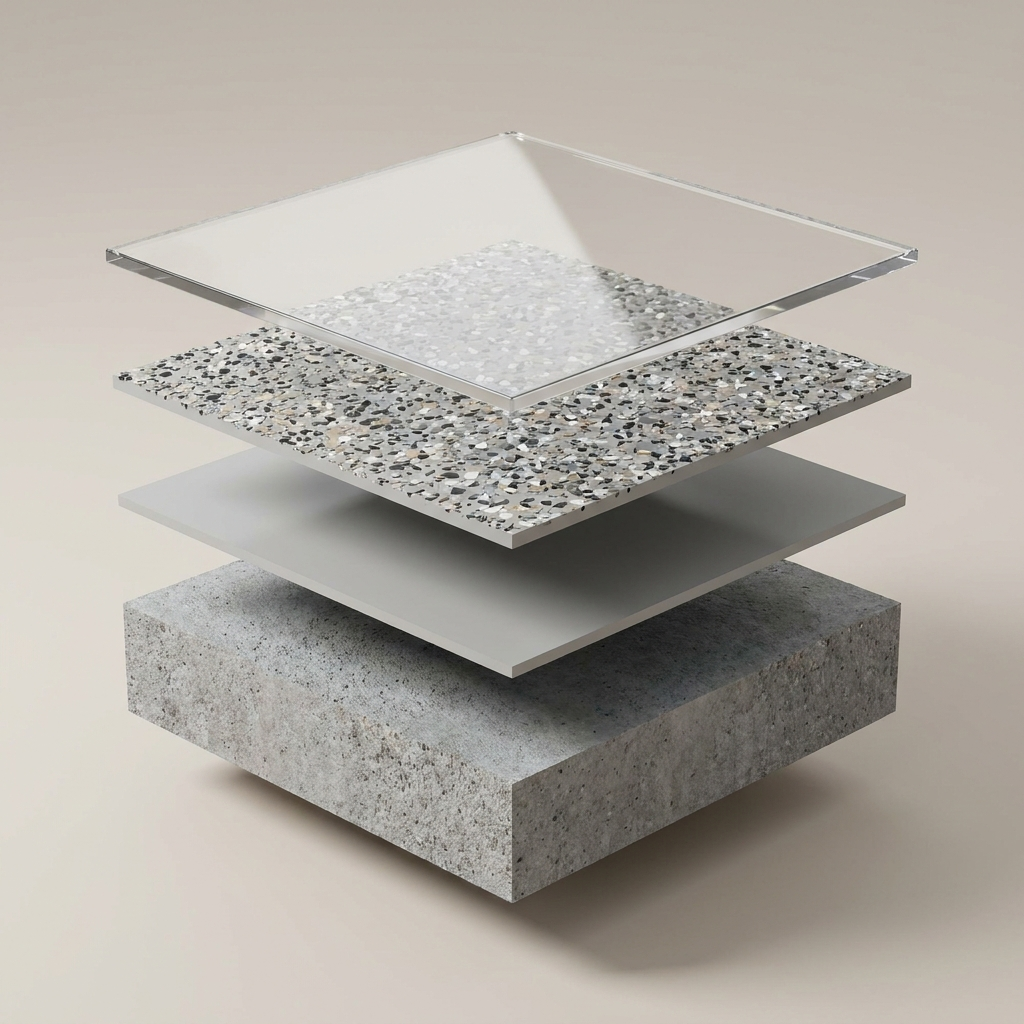
A professional flake system is built in layers: a high-build epoxy base, a full broadcast of color flake, and a polyaspartic topcoat over the top. Those systems typically land somewhere in the 20 to 40 mil range, closer to that credit card. You’re not comparing two versions of the same thing. You’re comparing a film to a floor.
2. About half of what you roll on disappears
Also from the data sheet:
Solids by volume: 52.6 to 52.8%
Solids by volume tells you how much of the liquid stays on the floor after everything else evaporates. At roughly 52%, about half of what you roll out leaves as water and solvent. That’s why the coverage works out to about 250 square feet per pouch and why the dried film ends up at 3 mils even though you put down 6 to 7 mils wet.
High-solids professional epoxies leave far more material behind, which is how you build real thickness in a single pass.
3. Acid etch is not grinding
The kit hands you a bag of concrete etch. You wet the floor, scrub the etch in section by section, rinse it, squeegee it, and check for dust with your fingers. Do it wrong and the instructions warn “the coating may not adhere properly.”
Etching is a chemical wash. It roughs up the very top of the surface and that’s it. It can’t pull out oil that soaked in years ago, it can’t remove a sealer (the sheet tells you to strip sealer first, which etch won’t do), and it can’t give the concrete a consistent profile.
Diamond grinding is mechanical. We run a grinder with diamond tooling across the whole slab and physically open the top of the concrete, so the coating keys into it instead of sitting on it. That’s why we grind every floor and repair the cracks before anything goes down. Prep is the job, and it’s the step a boxed kit can’t sell you.
4. The Texas heat clock
Here’s where these kits and North Texas stop getting along. Straight from the sheet:
Apply only when air, material, and surface temperatures are between 60 and 85°F, relative humidity no greater than 85%.
Your garage slab spends a good chunk of the Texas year above 85°F. And when you’re near the top of that window, the clock speeds up:
| Temperature | Start rolling | Pot life |
|---|---|---|
| 60 to 70°F | 45 minutes after mixing | 2 hours |
| 71 to 80°F | 15 minutes after mixing | 1.5 hours |
| 81 to 85°F | 5 to 15 minutes after mixing | 1 hour |
At 85 degrees you have about an hour to roll an entire garage and hand-broadcast the chips before the batch sets up in the tray. The instructions literally tell you to start before 9 AM. Miss the window and you’re fighting a curing product across a hot slab.
5. It is not a one-day job
The box implies a weekend. The dry times say otherwise:
- Light foot traffic: 12 to 16 hours
- Normal foot traffic and heavy items: 24 to 48 hours
- Vehicle traffic: 3 days
Three days before you can park on it. Our system takes two days start to finish, and the reason it takes two is the epoxy base gets a full cure before the polyaspartic topcoat goes on. You wait either way. The difference is what you get at the end.
6. The warranty is not a warranty
This is printed at the bottom of the same data sheet:
“The statements of this literature do not constitute a warranty, express, or implied, as to the performance of these products… our liability, if any, will be limited to replacement of defective materials.”
Read that again. If your floor peels in eighteen months, the most you’re owed is another pouch of epoxy. Not the labor. Not the tear-out. Not the floor. Compare that to a written warranty on the installed floor, which is what you should expect from anyone coating your slab.
7. Moisture ends it, and the box knows
The description section says the product “is not intended for use on unsound previous coatings or floors that have a moisture problem.” The instructions then walk you through taping a 2-foot square of plastic to the slab for 24 hours to check.
If you find droplets under that plastic, the kit tells you to buy a separate moisture blocker before coating. Moisture pushing up through concrete is the number one killer of thin coatings in this part of Texas, and a 3-mil film has almost nothing to resist it. That’s the same reason 1-day polyaspartic floors lift.
8. It’s slippery, and the fix costs extra
Another line most people skip:
“When concrete is coated, it typically produces a smoother surface than bare concrete and can become slippery when wet. To create a slip resistant surface, add Rust-Oleum Anti-Skid Additive (sold separately).”
A wet, glossy, thin epoxy floor gets slick. The anti-skid additive is a separate purchase. So is the clear topcoat. So is the moisture blocker. So is the degreaser. The $100 box keeps growing.
A full flake broadcast solves this on its own. The chips give the surface texture underfoot, which is grip you don’t have to buy in another bottle. Pick whatever flake color you want and the traction comes with it.
Kit vs. professional system, side by side
| DIY kit (from the published data sheet) | Our two-day system | |
|---|---|---|
| Thickness | 3.0 to 3.5 mils, about a sheet of paper | Multi-layer build, many times thicker |
| Solids by volume | 52.6 to 52.8%, about half evaporates | High-build epoxy base |
| Prep | Acid etch, scrub, rinse | Diamond-ground slab, cracks and joints repaired |
| Topcoat | None included, sold separately | UV-stable polyaspartic |
| Slip resistance | Slippery when wet, additive sold separately | Full flake broadcast, grip built in |
| Apply when | 60 to 85°F only | We control the conditions |
| Park on it | 3 days | Two-day install, then park |
| If it fails | Replacement material only | Written warranty on the floor |
What it really costs
A one-car kit covers about 250 square feet, so a standard two-car garage needs two of them. Then add the degreaser, the anti-skid additive, the clear topcoat, a moisture blocker if your slab needs it, rollers, and a weekend of your own labor on your hands and knees.
You’ll still be a few hundred dollars in, with a 3-mil floor and no warranty. A professional flake system runs $5 to $9 a square foot installed around here, and we break down exactly where that money goes in our garage floor cost guide.
The question isn’t which is cheaper today. It’s which one you’re paying for twice.
When a kit actually makes sense
We’re not going to pretend a kit is always the wrong call. It’s a reasonable choice when:
- You’re flipping or selling and just need the floor to look better for a season.
- It’s a rental and you want cheap cosmetics, not longevity.
- Your slab is newer, clean, dry, indoors, and stays inside that 60 to 85°F window.
- You genuinely enjoy the project and accept you may redo it.
If you’re keeping the house and you want to coat the floor once, the math stops working.
The bottom line
DIY epoxy kits aren’t a scam. They’re just a much smaller product than most people think they’re buying: a paper-thin, half-solids coat over etched concrete, with no topcoat, a one-hour working window in the heat, a three-day wait to park, and a warranty that covers another box.
Prep and thickness are what make a garage floor last, and those are the two things a kit can’t put in a box. If you’d rather have it done once, we grind, coat, flake, and seal floors across Granbury and back them with a written warranty. Either way, now you know what the spec sheet says.
Common questions
How thick is a DIY epoxy garage floor kit?
Rust-Oleum's own data sheet lists a recommended dry film thickness of 3.0 to 3.5 mils per coat for its water-based EpoxyShield kit. That's about the thickness of a sheet of copy paper. Professional flake systems are built many times thicker, typically in the 20 to 40 mil range.
Do you have to grind the concrete for a DIY epoxy kit?
The kits don't call for grinding. They include a bag of concrete etch that you scrub on and rinse off. Etching lightly opens the surface, but it can't remove sealers, deep contamination, or give the coating the mechanical profile that a diamond grinder does.
Can you apply an epoxy kit in the Texas summer?
Not easily. The data sheet says to apply only when air, material, and surface temperatures are between 60 and 85°F. A North Texas garage slab sits above that for a good part of the year, and pot life drops to about one hour once you're in the 81 to 85°F range.
How long does a DIY epoxy garage floor last?
In our heat, usually one to three years before it starts lifting at the edges or pulling up with hot tires. A thin coat over etched concrete has very little holding it down once moisture and heat go to work.